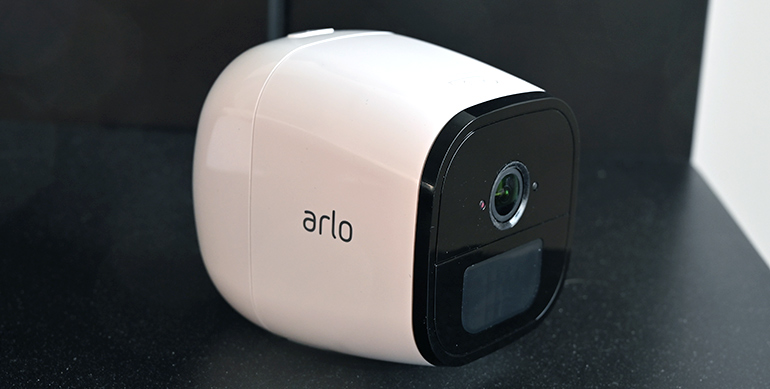
Most home security cameras need to stay in one place to look over property or people, but the Arlo Go can go wherever you go.
Arlo has become a company unto itself, having spun off from Netgear earlier this year, though nothing has changed from an operational standpoint. It’s still the same product, same service and same feature set.
As an untethered camera, the Go relies on LTE for its connectivity, not Wi-Fi. In fact, it doesn’t even support the latter, so if you planned to use this at home, you don’t have that as a fallback option. The key to what Arlo is trying to do with this is create conditions mobile enough for users to take and deploy the camera almost anywhere. To get it working, however, also requires a separate data plan.
Design and setup
For starters, without a data plan, the Go is effectively useless. Without Wi-Fi, LTE is the only way to make it work. For that, you will need a Bell or Telus SIM card because those are the only carriers officially supporting it. Under a shared plan, however, you should be able to use it with other carriers as well, but it’s best to confirm with your provider first.
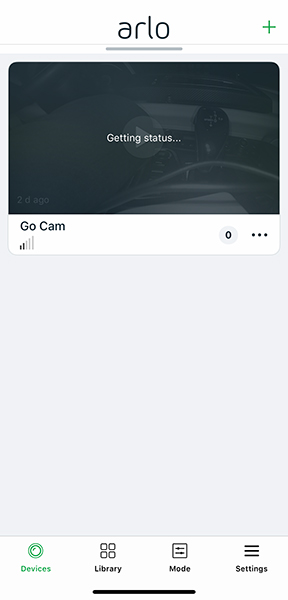
There isn’t a whole lot to the camera’s setup, though sequence does matter. After sliding in the battery and SIM card (plus a microSD memory card, if you wish), you use the Arlo app on iOS or Android to run through the steps. So long as the SIM has a signal, the process shouldn’t be more than a few minutes.
The memory card is optional in case you want to store footage there instead of in the cloud on Netgear’s servers. To start, Arlo offers a seven-day span of recorded footage, with the option to get more through a subscription, which I’ll touch on later.
The Go is built for indoor and outdoor deployment, and that includes the harshness of Canada’s winters. Rain, snow, freezing temperatures — it’s supposed to withstand it all. The battery is rated to last about 60-90 days, depending on how much motion it captures. This isn’t an “always-on” camera in the sense it shows a constant live feed. It either springs into action when something moves into the frame or when you manually check it through the app.
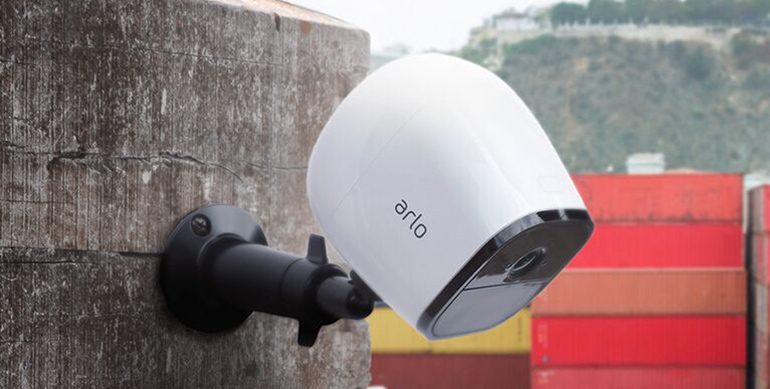
A bracket comes in the box to mount it anywhere you can drill a few holes in. The Go then screws into place. The mount is standard, like the ones used for cameras and tripods, so you could get creative if you had something else in mind to set this up.
Lastly, I should note that you can access the camera through Amazon Alexa, Google Home, IFTTT and Stringify. That makes the Go every bit a smart home device.
Plans and subscriptions
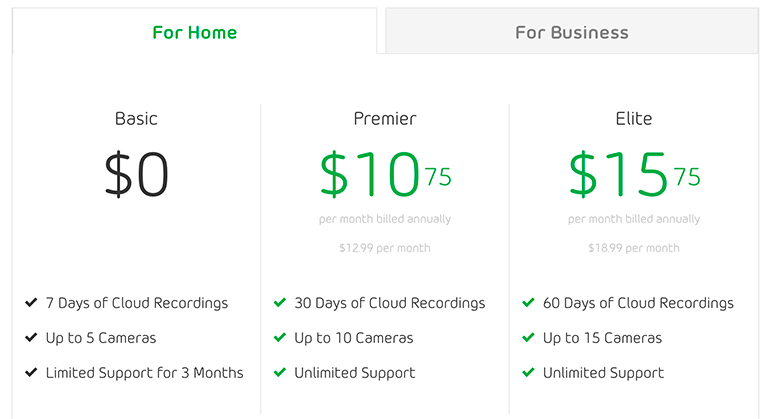
Technically, there are two subscriptions to note here. One is the data plan, and the other is the cloud-based feature set from Arlo. Out of the box, Arlo’s Basic Plan gives you seven days of access to any motion or audio-triggered recordings. It’s not a trial, either — the plan comes with the camera. For more, Arlo outlines the details.

According to Bell’s estimates, you can expect up to 850MB of data usage per month at an average of five minutes of recorded footage each day. The catch is that it’s based on the optimized or battery saving settings, which reduce the framerate below the peak, which is 720p HD.

Camera in action
 If you’re already familiar with Arlo’s cameras, you can expect a similar experience. I’ve always found them efficient and reliable, with an app that’s easy to navigate and understand.
Since the primary consideration is where to put it, any place with a good signal is paramount. If you live in a rural area with spotty coverage, using a signal booster should help, though that also depends on how far you’re putting it from said booster. The Go doesn’t have just one use case because of its mobility.
I borrowed a very expensive sports car for a week and used the camera to keep an eye on it from the inside throughout. I used it at home, even though Wi-Fi-enabled Arlo cameras were already doing that. I took it almost everywhere.
The built-in geofencing options offer a small, medium or large radius, which is great for automatic arming and disarming. This can only work if the Arlo app is tracking your location at all times, however, so if you’re not okay with that, the feature will require you to manually arm it. The better way under that scenario would be to use an arming/disarming schedule, which can also be set up through the app.
Video quality is decent at 720p, and clear enough that you can make things out fairly quickly. Infrared also gives you night vision, so you can see plenty that way, too. Unlike other Arlo cameras, this wasn’t one I tended to check in with often. Part of that was because I trusted the motion sensor, but also because of some anxiety over data usage.
The short spurts that I tended to look at — even at 720p — weren’t enough to wreak havoc on the data plan. Still, if you are using the Go on a shared plan with other devices, like your smartphone, the camera is pulling data from the same pool.
Trying to keep the Go plugged in at all times isn’t a good idea. It exposes the back to the elements, potentially ruining the camera through one of its vulnerable points. The battery is pretty robust, though it does drain faster in colder weather. Once spent, all you need to do is simply recharge it.
The value prop
The Arlo Go is a great concept taking a niche approach. You either need it to cover ground your home Wi-Fi can’t get to, or you want it to act as a redundancy to complement other security cameras.
It’s an expensive proposition, either way. The Go sells for $550 — and that’s before data plans or subscriptions come into play. Carrier data plans start at $10/month and up, as do extra features from Arlo. Get this camera only if you feel you could benefit from a specific need or want you have.


